Please note that the steps below apply only to the Organization plan users. Professional plan users do not need to invite team members to their organization, as they are the sole owners of their license plan.
In this article you will find an overview of the essential first steps for Organization Admins. If you prefer following along with the video, scroll to the very end of this article.
If you are not sure of your role, check here first.
Browser Requirements
We recommend using Google Chrome or Microsoft Edge browsers for seamless experience in Maltego One.
1. Create your Maltego ID
If you have not done so already, create your Maltego ID.
2. Invite your team to the organization and define their roles
There are two ways to invite your team to the organization:
- using their email addresses
- by creating usernames for them.
Username-based accounts are not linked to email addresses.
2a. Inviting your team with the email address:
- Log in to Maltego app.
- Click on "Users" from the home page.
- Click on "Add Users" in the upper right corner.
- Enter your team member’s email address and define their role.
2b. Creating username-based accounts for your team:
- Log in to Maltego app.
- Click on "Users" from the home page.
- Click on "Add Users" in the upper right corner.
- Define the username prefix: choose a prefix that will be prepended to all generated usernames (e.g., acme_, investigator_).
Specify the number of accounts to generate for each role:
Organization Admins: up to 20 accounts
Investigators: up to 20 accounts
Generate credentials by clicking "Generate." The system will produce a list of usernames and one-time login links for each account.
Distribute the credentials and login links with the respective users in your organization by copying the credentials or downloading and sending the .zip files. Users will then create their own passwords.
3. Assign products to your team
- In the ‘Users’ section, select the user you would like to assign products to. This will open a panel on the right side.
- From the right hand side panel, you can change user roles and assign products. Select the Maltego products this user should have access to and click ‘Update’.
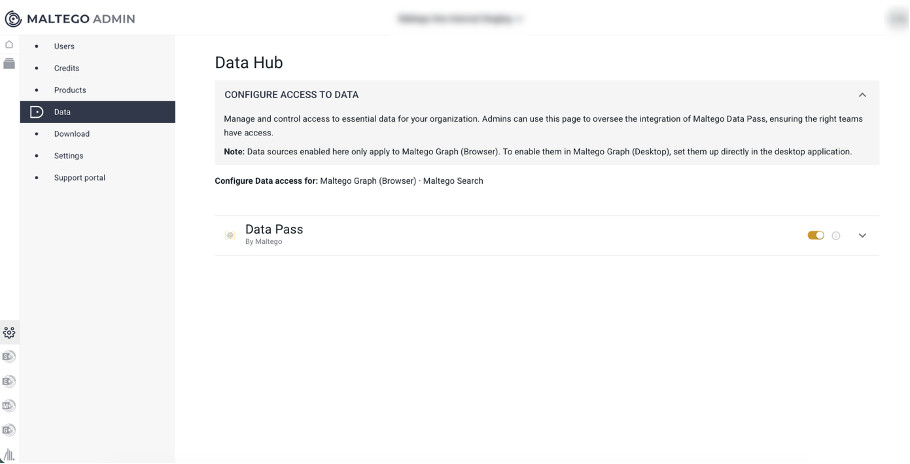
4. Enable the Data Pass for your Organization
- Navigate to Admin > Data.
- Click on the Data Pass toggle to enable the Data Pass access for your Organization.
5. Assign Credit limits of Maltego Data
Your organization gets 250.000 Credits in the Organization plan to run Transforms and searches in Maltego Graph and Search. As an Organization Admin, you can:
- Distribute credits across the team and assign credit limits;
- Overview your organization's credit usage;
- Have access to the usage logs with an overview of each individual Transform run and search within the organization.
To perform the actions above, follow the steps below:
- Go to the Credits page in Maltego Admin,
- In the "Overview" tab, you will see all users in your organization, how many Credits are assigned to each user, and how many they have spent.
- Select the user you want to set a limit for, and click on "Set limit."
- In the side panel you can set a percentage of your organization’s total Credit allowance. This user will now only have access to this specific amount of Credits.
- Open "Usage Details" tab to see an overview of Transforms run by the members of your organization and the credits each consumed.
Tip: allocate more Credits to power users and less to occasional users.6. Optional: Enable Mandatory Encryption for your Organization
As an organization admin, you can set E2E encryption across your entire Maltego organization after setting your master password. Doing this will ensure the privacy of all new cloud-based cases and investigations conducted by your team on Maltego Search and Maltego Graph, without the need to set up encryption of individual files.
Ensure the privacy of your investigations by setting end-to-end encryption across your cloud-based cases for Maltego Search and Graph.
You can set E2E encryption in two different ways:
- You can encrypt your cloud-based cases individually upon their creation, or
- As an organization admin, you can enable mandatory E2E encryption across your entire organization.
Follow the steps below to set E2E encryption:
- Set your Master Password.
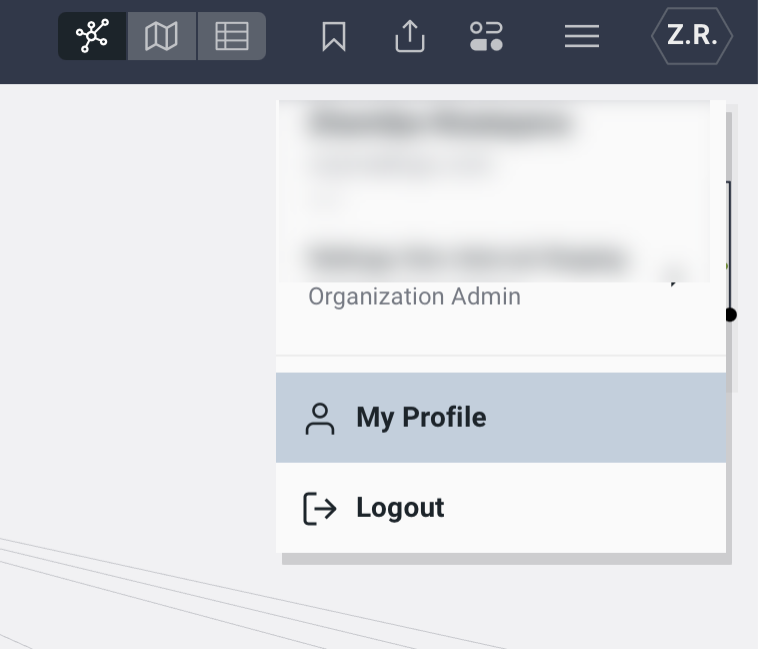
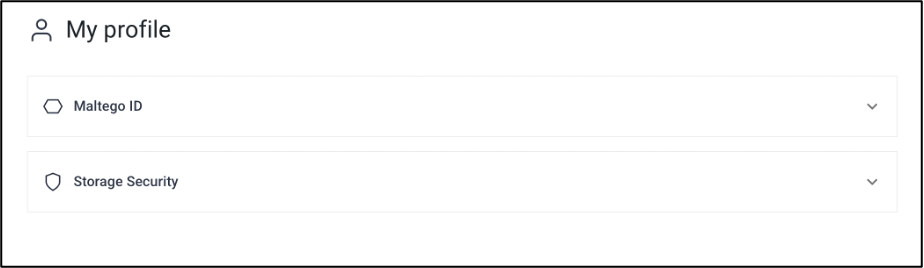
- Go to your ‘My Profile’ page and select ‘Storage Security’.
- Select ‘Set Master Password’. This will lead you to the password creation screen.
- Enter your new password credentials and click on ‘Set Password’.
- Go to your ‘My Profile’ page and select ‘Storage Security’.
- Make E2E encryption mandatory for your Organization.
- Open Maltego Admin by clicking on the Admin logo on the Home Screen.
- Click on ‘Settings’ on the left and select ‘Case Encryption’.
- Activate ‘Mandatory Encryption’.
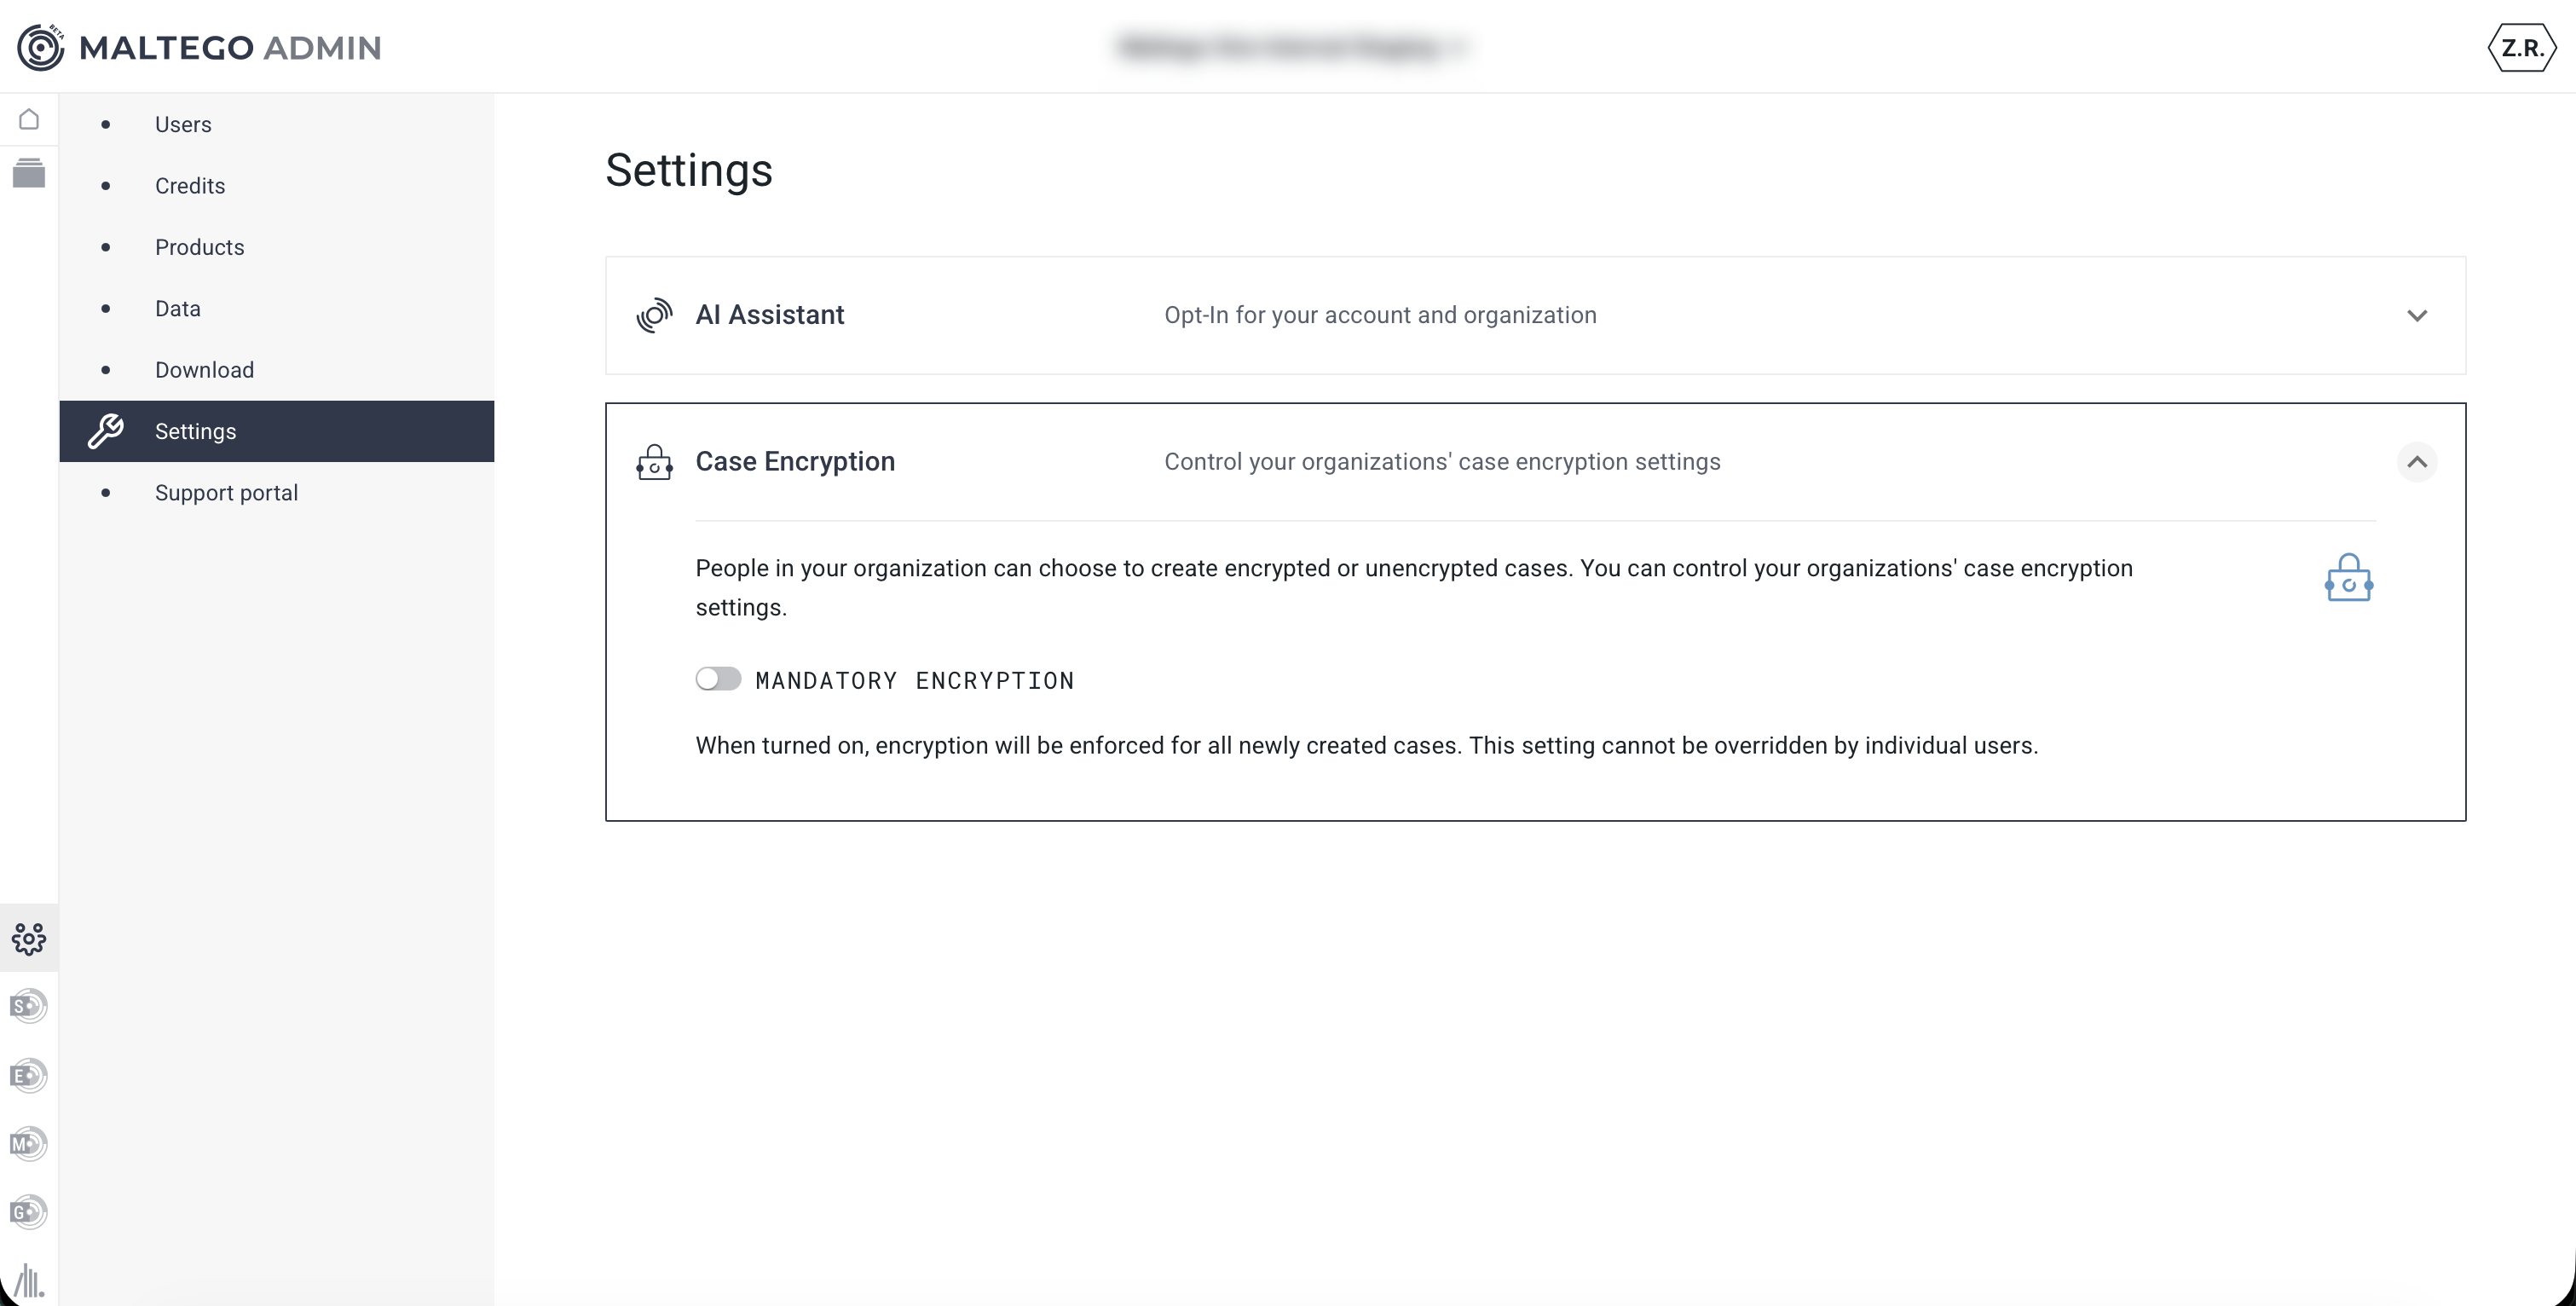
Note: Cases created before activating ‘Mandatory Encryption’ will remain unencrypted.
Master Password is personal and for individual use only, meaning Maltego will not have access to it or be able to restore it. It is recommended to store your Master Password safely and download the private key used to restore or change the password in case you lose it. You can change or restore your Master Password under Storage Security in My Profile.
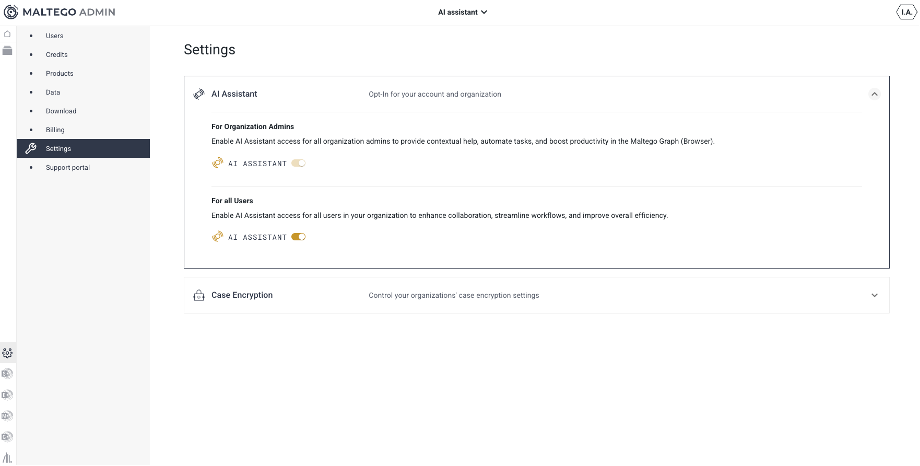
7. Optional for Beta Users only: Set Up the AI Assistant
To enhance investigative workflows, Maltego Graph (Browser) now includes an AI Assistant designed to support and accelerate investigations. This feature can be centrally managed by Organization Admins.
To configure AI Assistant access at the organizational level, Organization Admins should follow the steps below:
- Navigate to: Maltego Admin > Settings
- Select the AI Assistant section to configure access settings.
- You will find two access control options:
- Organization Admins Only: Grants access to users with the role of organization admin only. This allows admins to evaluate and test the feature before rolling it out more broadly.
- All Users: Enables the AI Assistant for all users in the organization.
These settings provide flexibility, allowing administrators to enable or disable the AI Assistant for Maltego Graph (Browser) based on organizational readiness and use case needs.
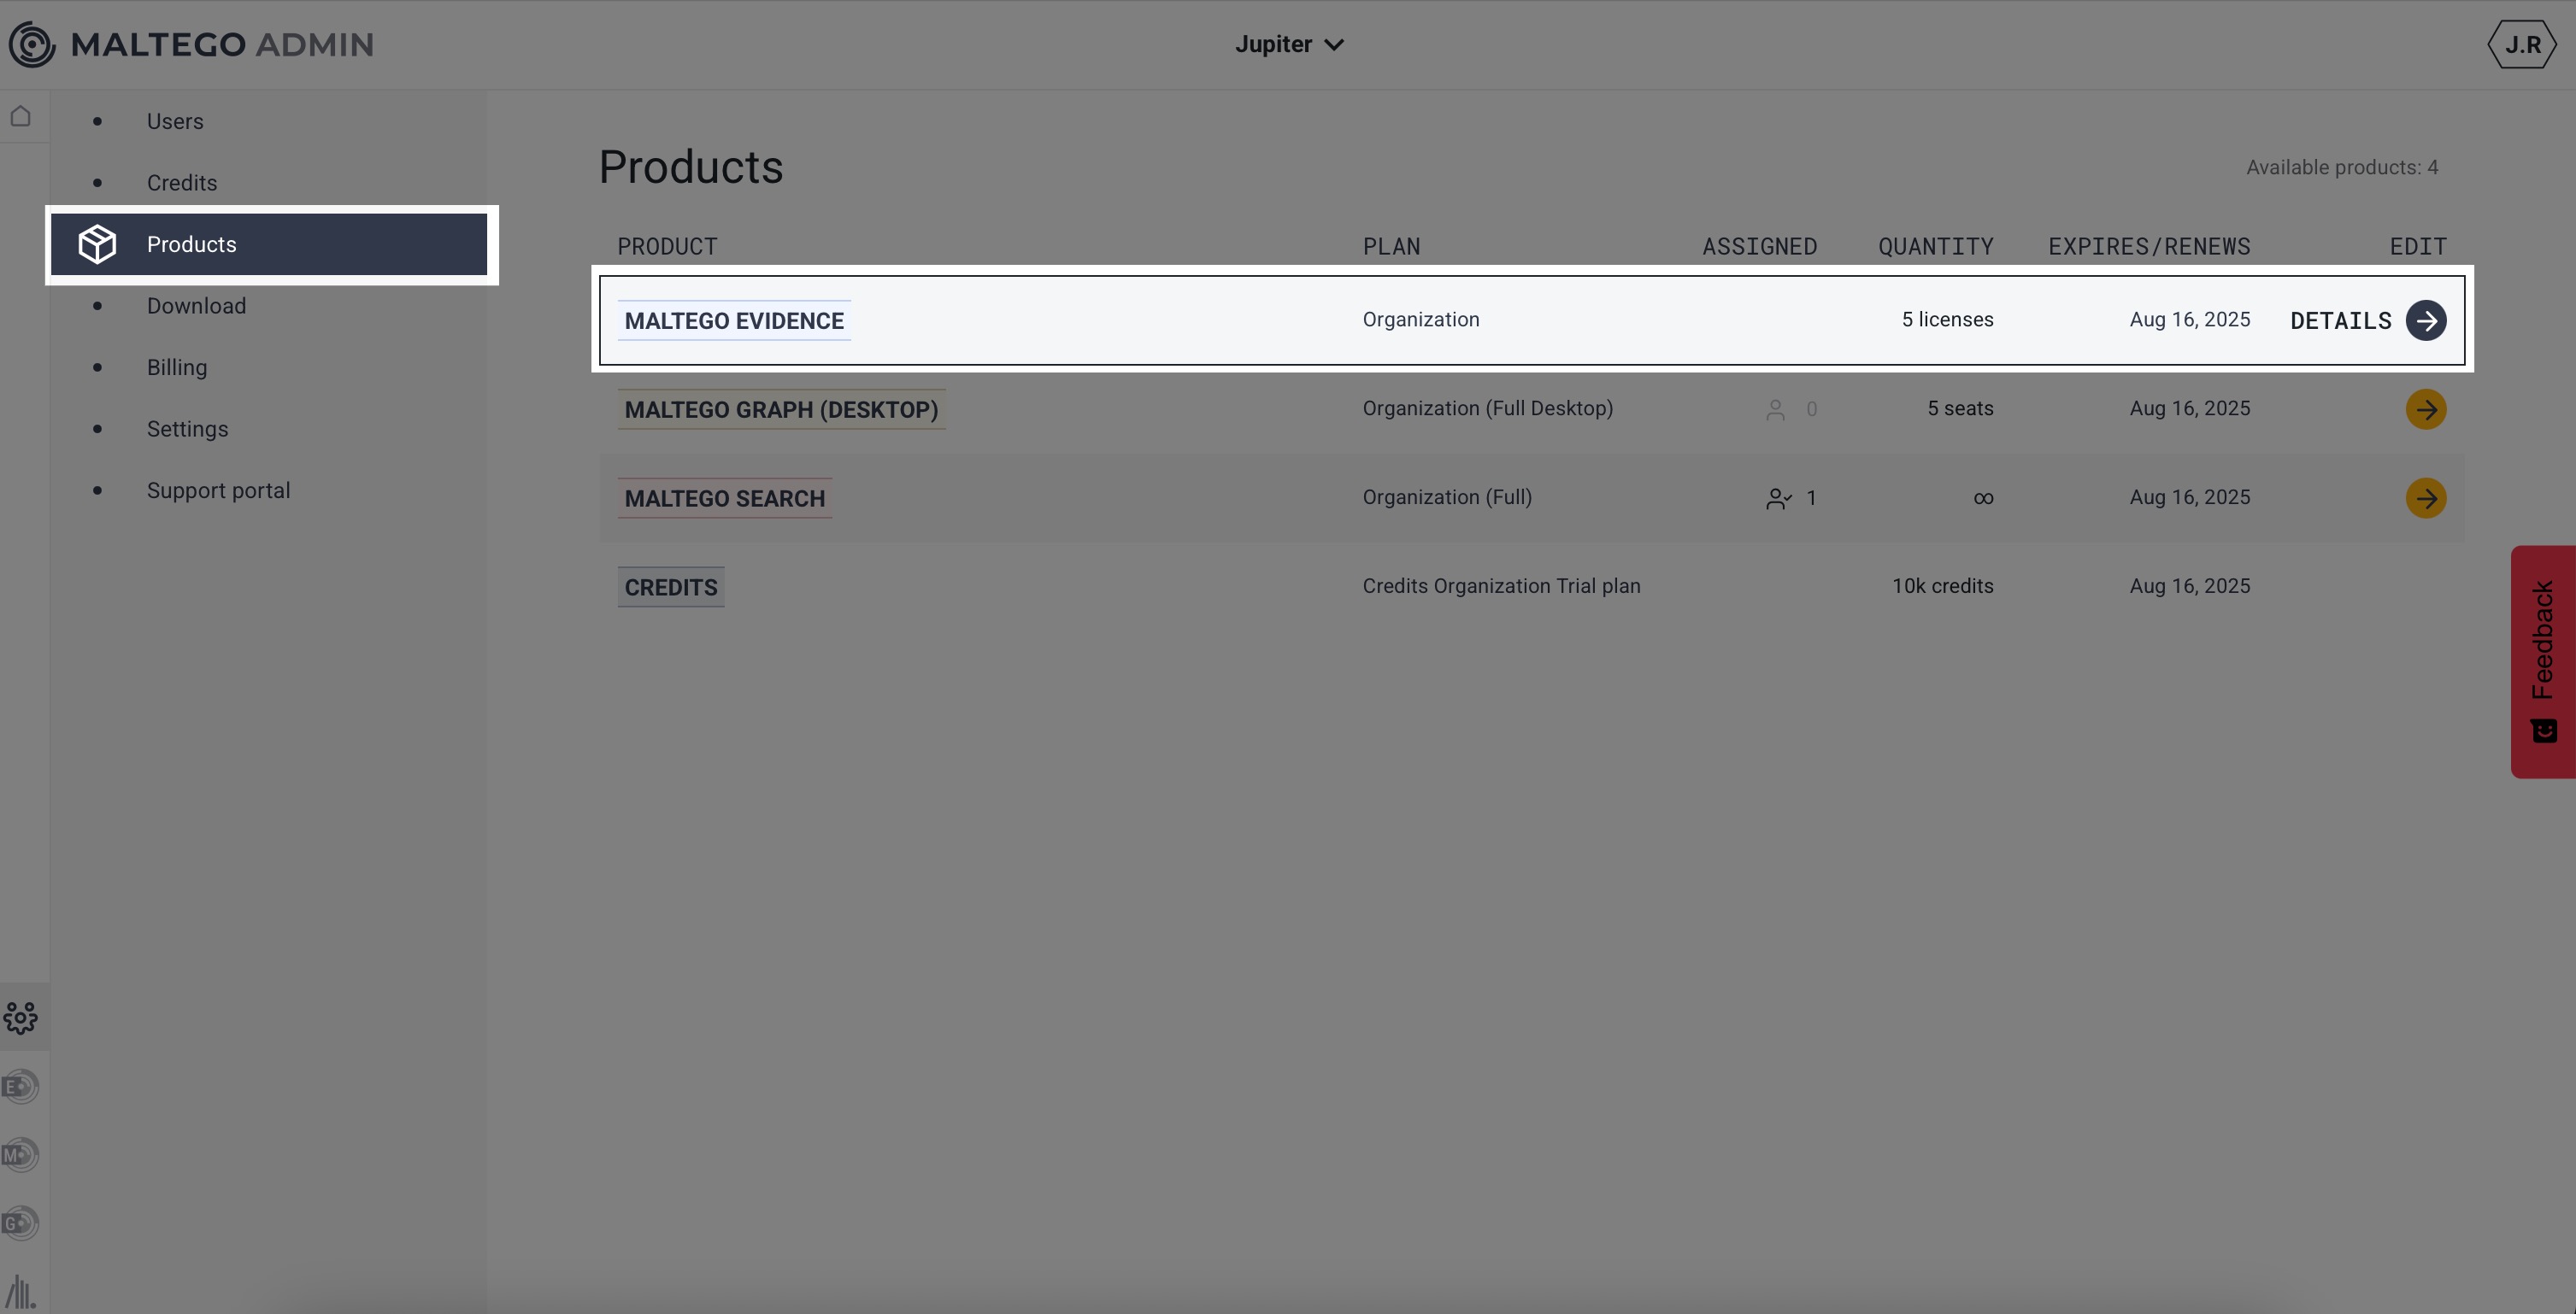
8. Optional: Generate Licenses for Maltego Evidence Access
If your team is planning to use Maltego Evidence (Base), you can generate licenses in Maltego Admin. To do that, please follow the steps:
- Open the "Products" tab on the left.
- Under the list of products, hover over Maltego Evidence and click on "Details."
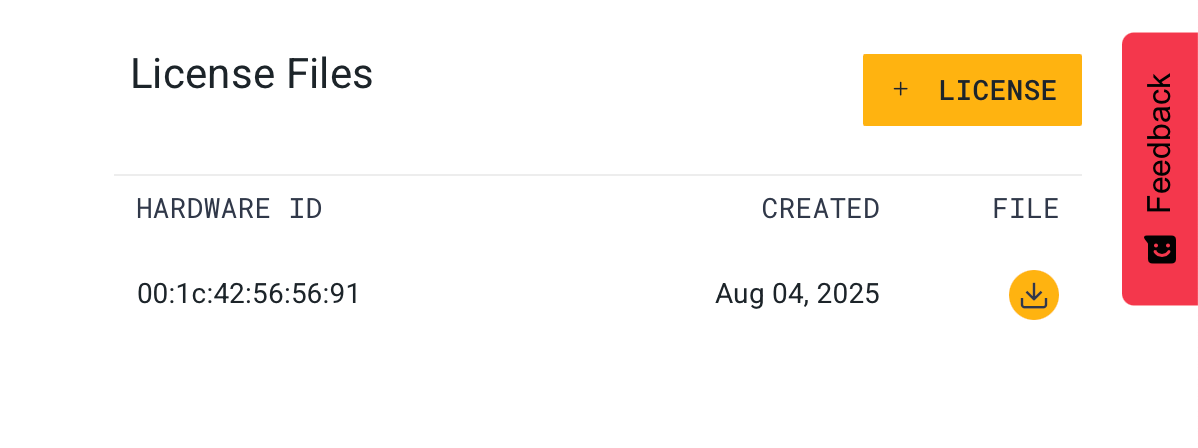
- In the Details menu, click on "License" and enter the hardware ID given to you by the user for whom you are generating the license key. Read further for instructions on how to find the hardware ID. Make sure to double-check the accuracy of the hardware ID, since the number of licenses the admin can assign is limited. If you input an incorrect number, one license will be deducted from your allowance.
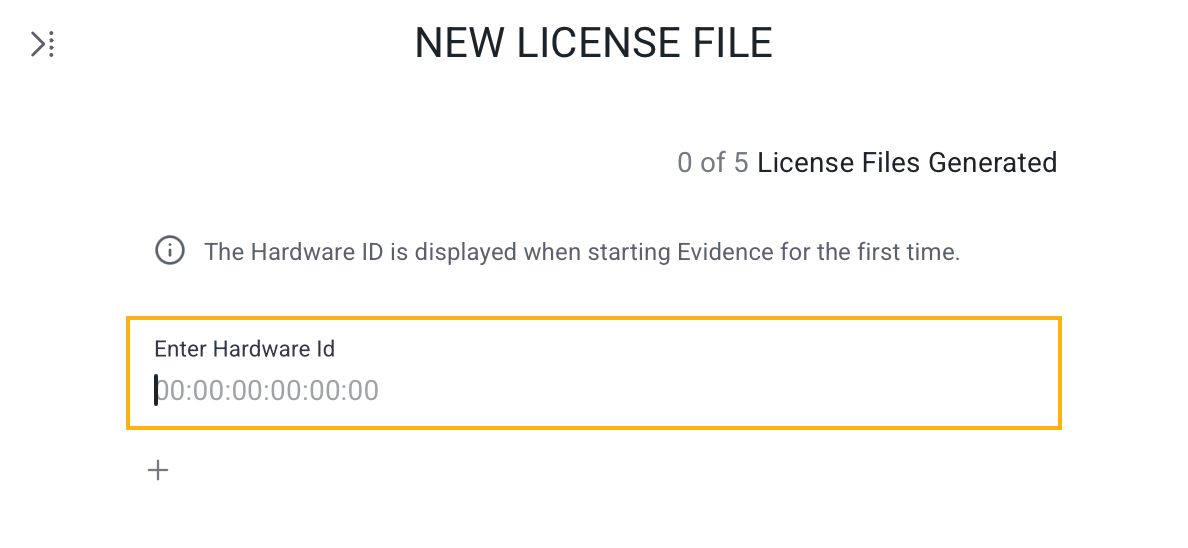
- Upon entering the hardware ID, click on the download icon to the right of the field to download the license file. Send it to the user. The user will need to upload this file during the installation process.
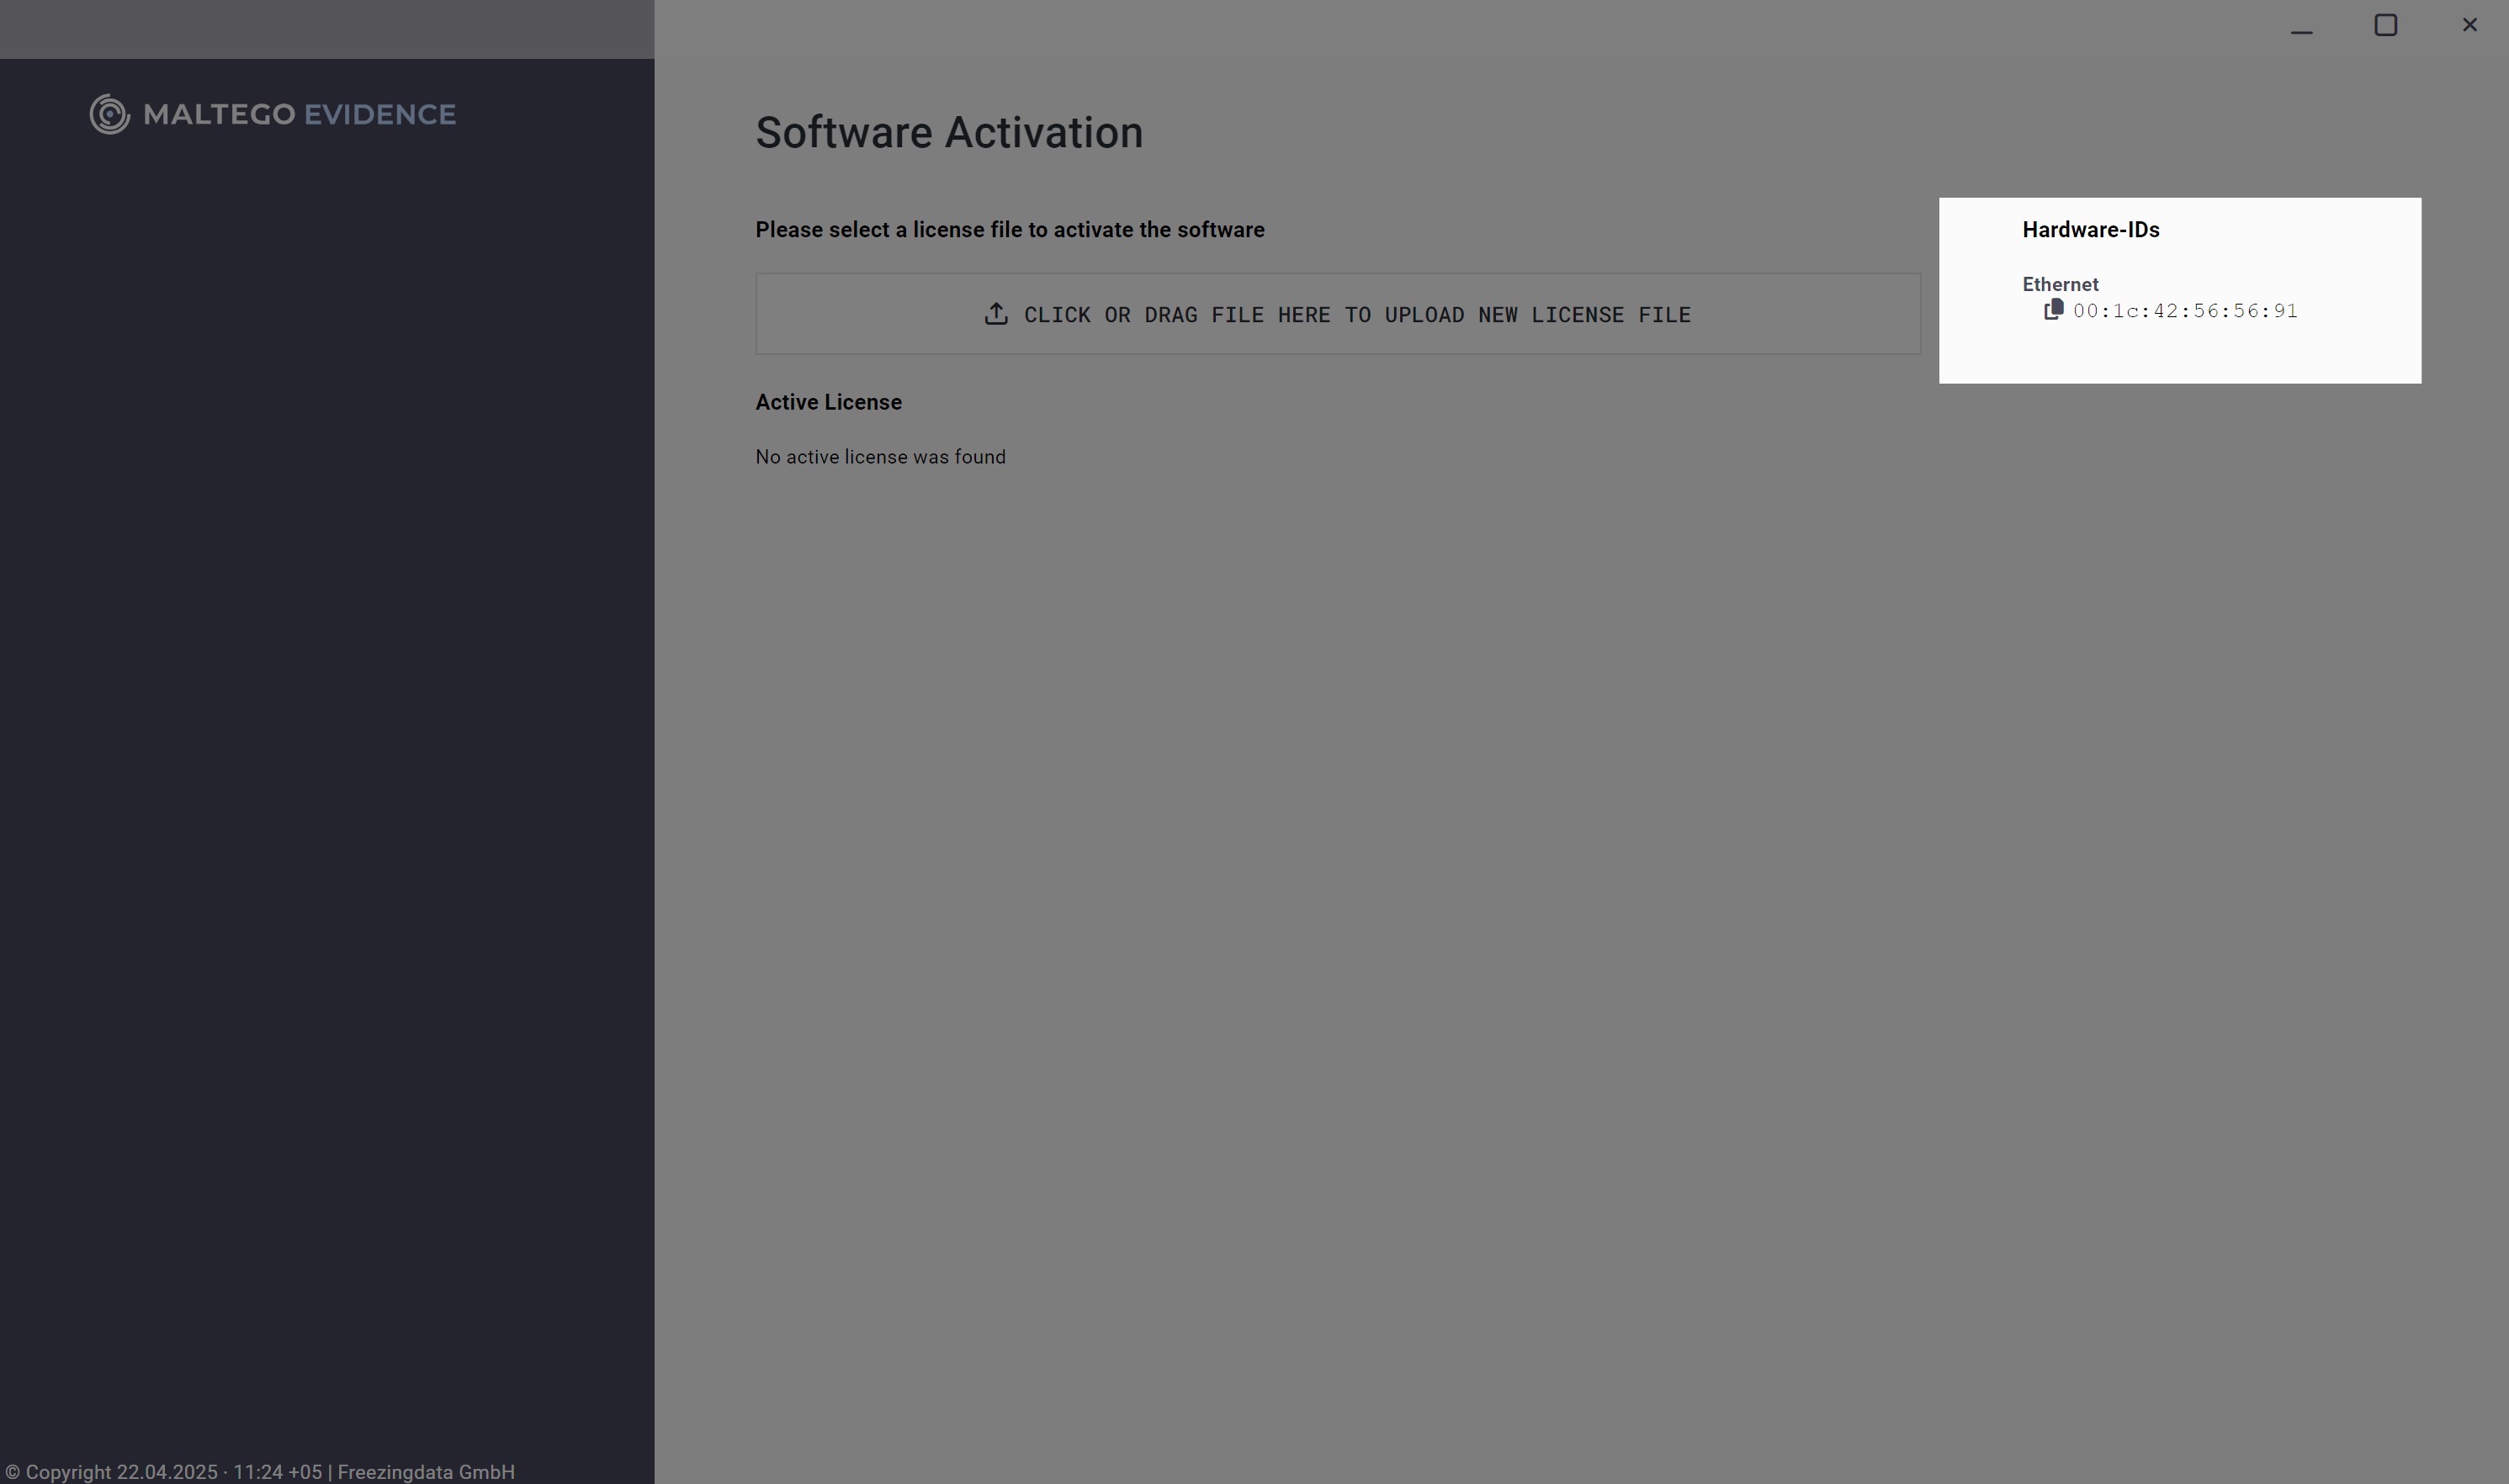
Instructions to locate user's hardware ID
- The user needs to open the Evidence installation file.
- Locate the hardware ID on the right side of the screen.
- Copy the hardware ID and send it to the Organization Admin who will generate the license key for the user.
If you purchased Maltego Evidence Faster Data or Collaboration variants of the product, you will need to contact your Account Manager to receive the license keys.
Video instructions
Maltego Monitor access outside of the Organization Plan
If you purchased Maltego Monitor outside of the Organization Plan, you will receive an invite from the Maltego team to create your Maltego Monitor account.
- Follow the process outlined in your invitation email and set up your Maltego Monitor account.
- Log in to Maltego Monitor directly with your credentials.
- Invite users with their name and email address and assign them to the appropriate Monitor.